INFORMATION:
- I probably made the most progress in this area. I had zero knowledge of or interest in preparedness at the start of the year. Now I have read on the subject extensively and I feel comfortable with many of the most important preparedness areas. I feel confident in my knowledge of food storage, but not so much in areas like defense and alternative energy.
- I made efforts to preserve my newly gained information. I have an enormous preparedness binder with lots of information printed off and organized. I collected numerous food storage and garden vegetable recipes and have another binder for that.
- Hubby Dear backed up our computer on SOS Online Backup. We also have several flashdrives with important items copied onto them.
- I made an emergency binder with essential documents for our bug out bags (BOBs).
SURVIVAL ESSENTIALS:
- Because of our location, it would take something extraordinary for us to bug-out, but now we are prepared to do so. We have BOBs packed and ready to go.
- Our vehicles are always equipped with emergency supplies.
- We have a couple of ways to start fires and a large stash of dryer lint (tinder!).
- We have emergency lighting ready to go.
- If we had to, we could shelter-in-place during a chemical or biological threat. We have potassium iodide tablets in case of a nuclear incident. (Even the federal government thinks you should shelter-in-place during a nuke event.)
- I came up with three months' worth of menus of shelf-stable, normal meals and a plan to get 1 year's worth of food.
- I have between 2 and 4 weeks worth of water stored at home.
- According to Emergency Essentials' Food Storage Analyzer, we have about 151 days of food currently stored.
- To help us rotate our storage, I invested in smaller food storage containers and some can organizers.
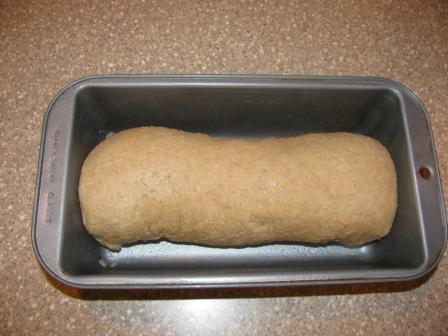
- I bought a hand-crank grain mill and learned how to use whole wheat berries to make bread.
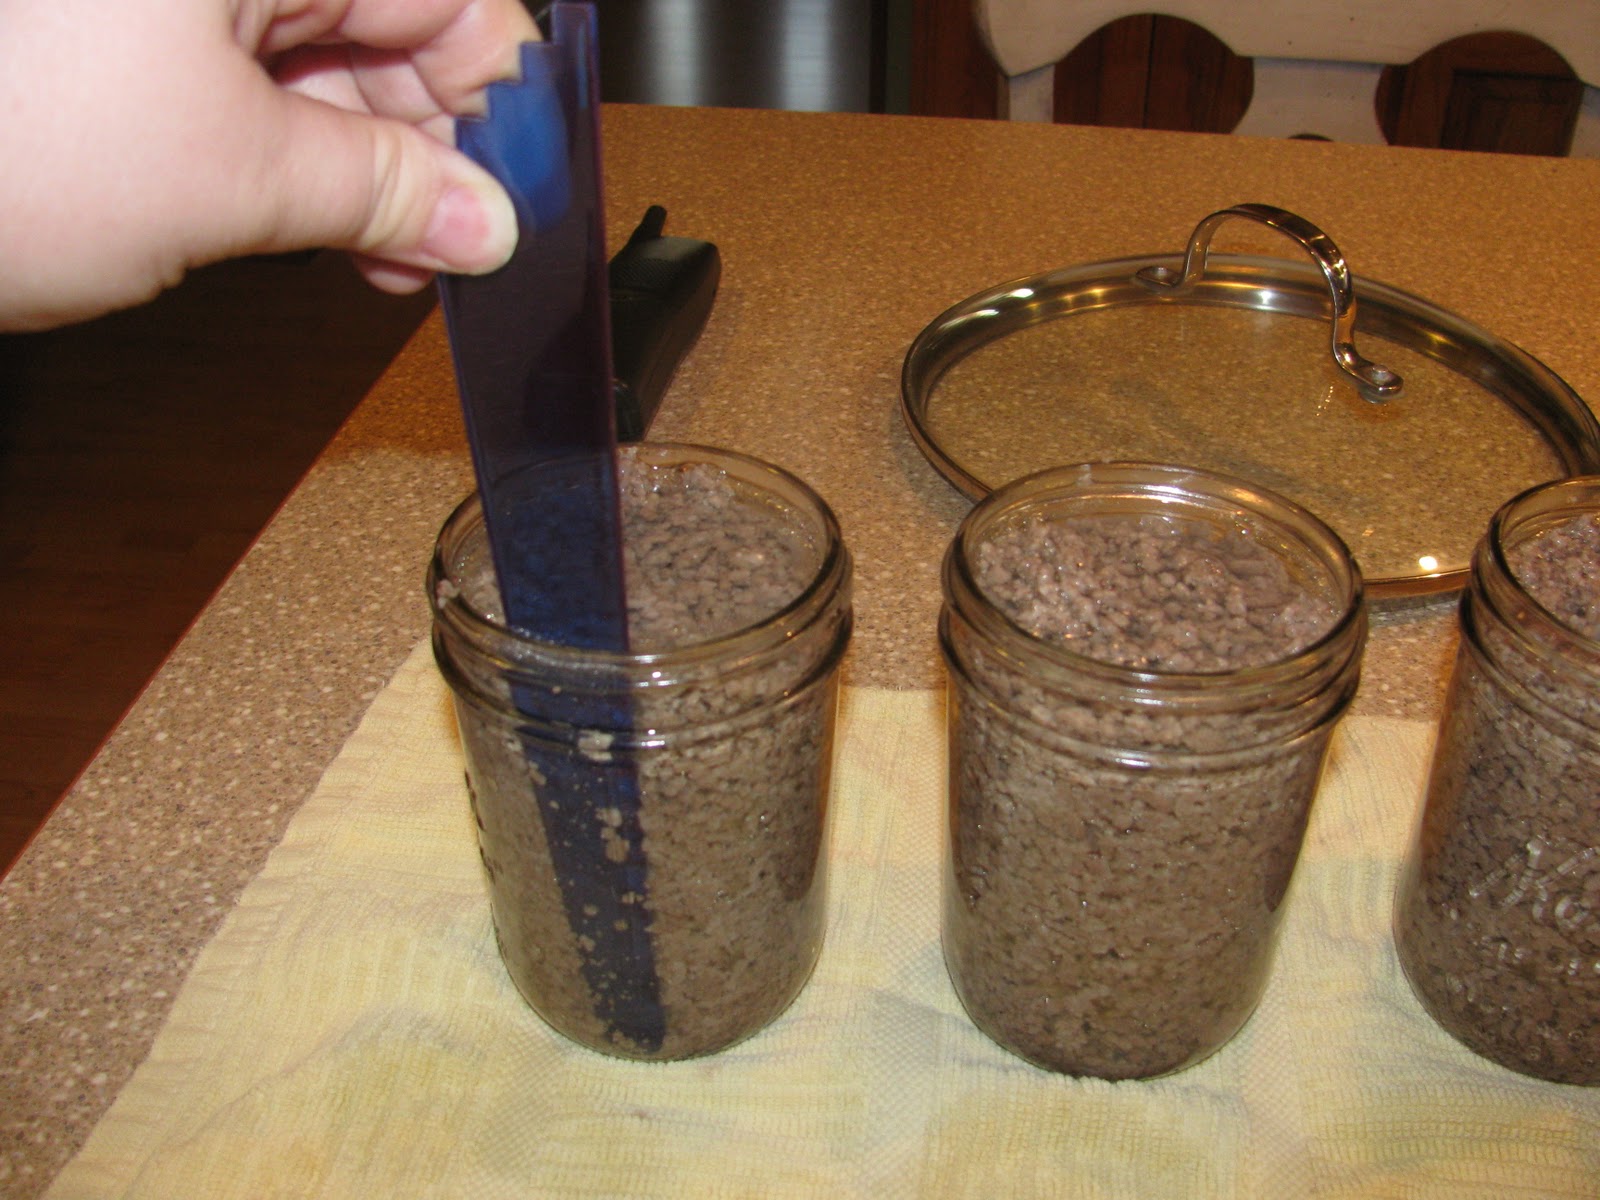
- I learned how to use a pressure canner in addition to my water bath canner. I've canned a variety of items from pickles to ground beef to applesauce.
FIRST AID/HEALTH AND HYGIENE:
- We have first aid kits in several different places, from my purse to our BOBs.
- We stocked up on items useful in a pandemic, such as N-95 masks and nitrile gloves. I've already been very glad to have the gloves on hand (no pun intended) during our family's bout with stomach flu over Christmas.
- We've begun to stockpile toilet paper and OTC medications.
My Goals for 2011:
- Get a full year's worth of food storage.
- Buy an electric grain mill (finally).
- Continue to develop our gardening skills. We're converting our vegetable garden to a square foot garden. Hopefully we'll get enough cherries, raspberries, and blackberries to can and freeze this year.
- Can a wide variety of garden produce.
- Further develop our water storage and purification abilities. This could include: getting a Berkey filter, storing pool shock, mapping out nearby natural water sources, and installing rain barrels.
- Deepen our store of first aid/medical supplies.
- Lose weight and get in shape - both Hubby Dear and I.
8. Start saving towards our home renovation that will include the installation of a woodstove.
Whew! That sounds like a lot. Hopefully we can accomplish all of these.
How have your preps come along in 2010? Do you have any big plans for 2011?